
Because really, what could be better than that?


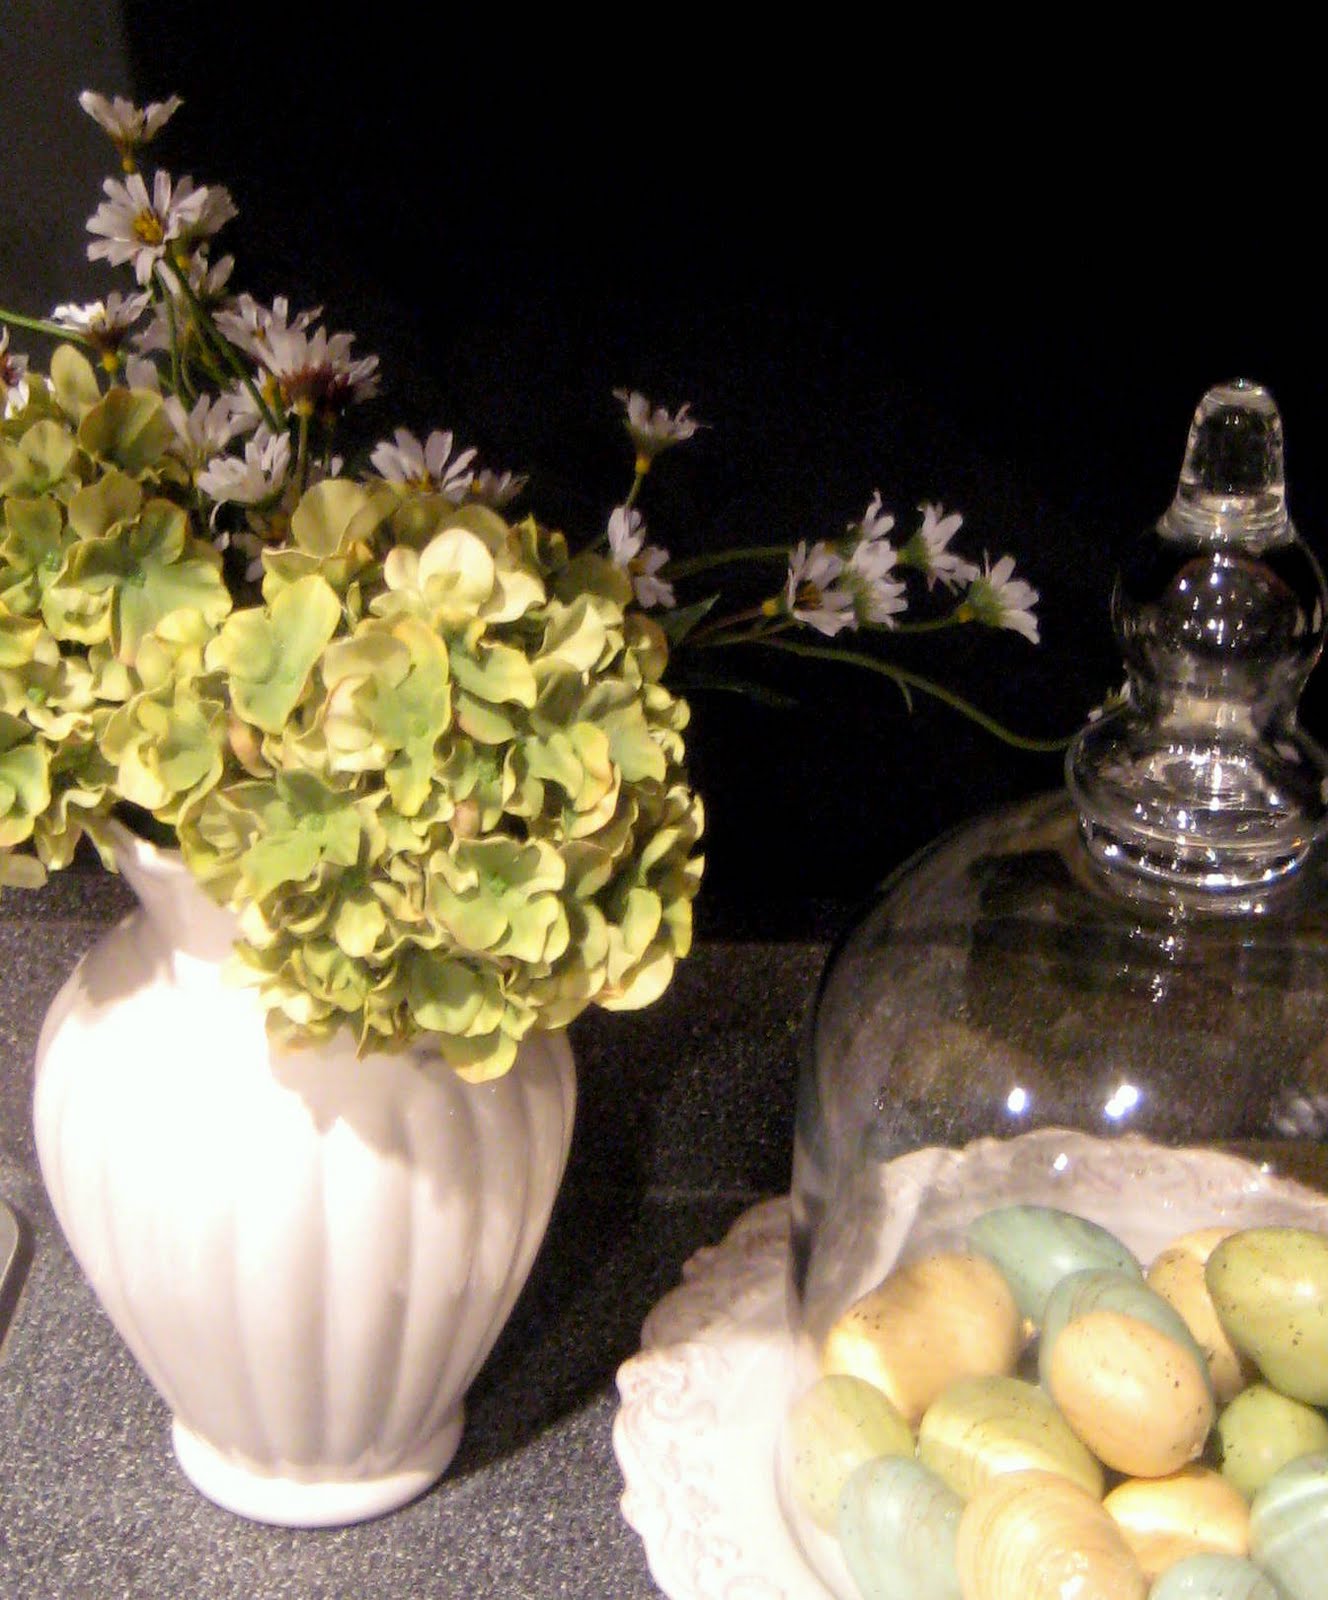
 Please pardon my rumpled tea towel. Professional stager, I am not. Linking up to Metamorphosis Monday at BNOTP. Have a nice week!
 It's very dark green, so dark it appears to be black. I like the plate spindles.
 I am not sure yet if this is where it's staying, but I sat it on top of this little black cabinet in my sunroom. It's just a little too big.
 I love these plates too, so I'm happy to have an opportunity to display them.
 Thanks for stopping by!
 Hope you are having a good week!
 It's a potpourri jar. Now I just need some potpourri!
 Did you guess what it is yet?
 Need another hint?
 I just added a few new accessories.... or rather, old ones.
 Some older than others.
 And here it is, with a whole new lease on life. I think it makes a perfect sewing cabinet!
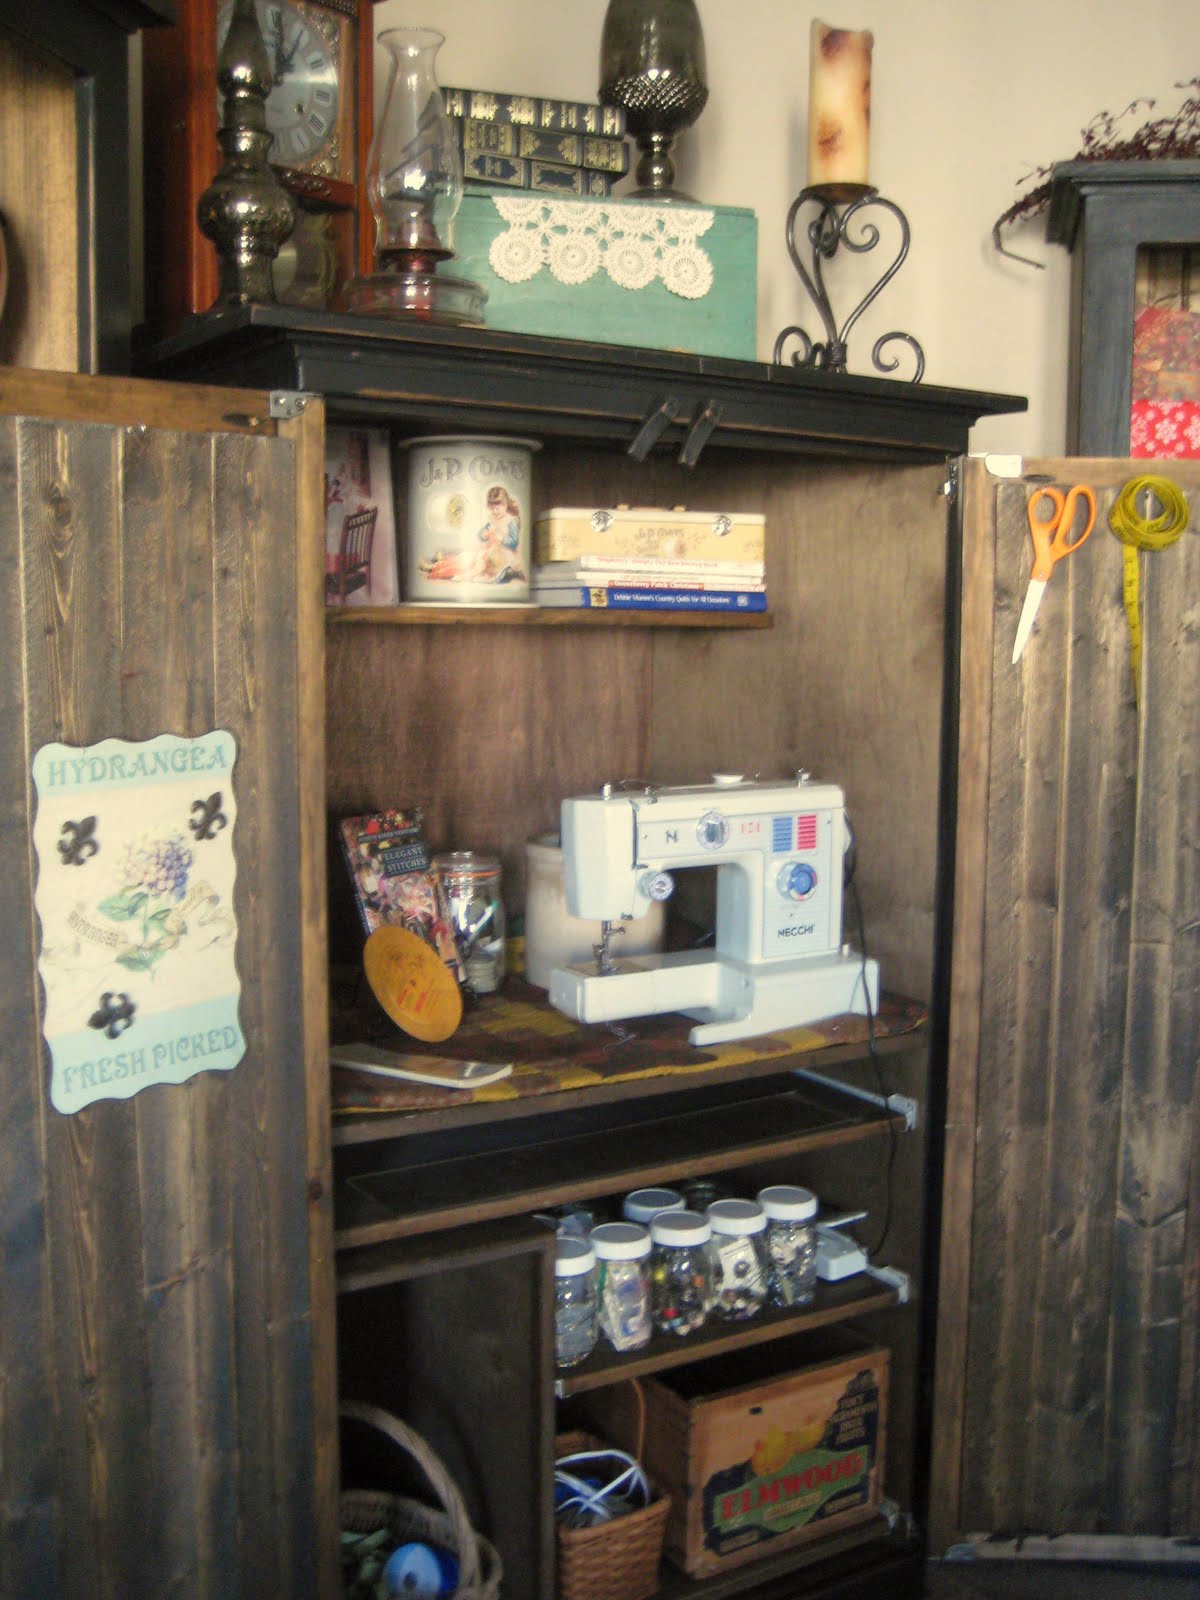


 A couple days before Christmas I whipped up some pillow covers in a seasonally appropriate color scheme. I pulled this fabric from my stash bin in my mom's craft shed while I was visiting a few weeks earlier. Most of my stash came from a lady who used to work with me, who needed to downsize her fabric collection in order to move to a smaller apartment. Yep, that is when you know you have too much fabric. I made each of these in just a couple minutes out of a single piece of fabric with just 2 seams per pillow. They look like I didn't bother to iron them but actually I had to pull them out from under my daughter's butt to take the photos. (Ok, I didn't iron them, but why bother when your kids are just going to sit on them anyway?) Here is the back, which is the envelope part:

 Turn it inside out, poke all the corners out and stuff the pillow form back in through the envelope. Easy!


 As it came off the ironing board, I wrapped it around a pillow to help keep it flat. Next, I hand-gathered the ruffle using a strong quilting thread. Again, it didn't take as long as you might think. I just ran a quick needle through it about 10 inches down from the fold, which gave me 4 layers in 2 lengths. **EDITED TO EXPLAIN: I had the tulle folded in half , then folded again from the middle fold toward the edge about 10 inches. making the ruffle 4 layers total, 2 short over 2 long layers.** I then attached it to the sheet using my machine, but about 2 feet into the process I realized I was getting off track. Getting off track is not good:


 The little sunroom tree in a nail barrel:
 Sunroom china cabinet - this is displaying my cheapie K-mart Christmas china that I bought 15 or 20 years ago for about $25 for the 8 five-piece place settings. It has a simple holly design that has never gone out of style. My paperwhites are starting to topple.
 I had visions of filling these glass containers with colorful sweets, but I only got the small ones filled. Good thing, too, since everyone is going on a diet today and I have to just get rid of this stuff anyway.
  Below is one of a couple of new things that I got this year. I worked a seasonal part-time second job in a local nursery/gift shop and they carry great Christmas stuff. I love these LED branches, and I got them at a 40% discount before Christmas. I stuck them in a watering can with some fake greens and berries.
 The dining room has the same theme of brown and metallics as last year, I just moved things around a bit for some variety.

 Shelf over the sofa:
 Now to get to work taking it down... Happy New Year!